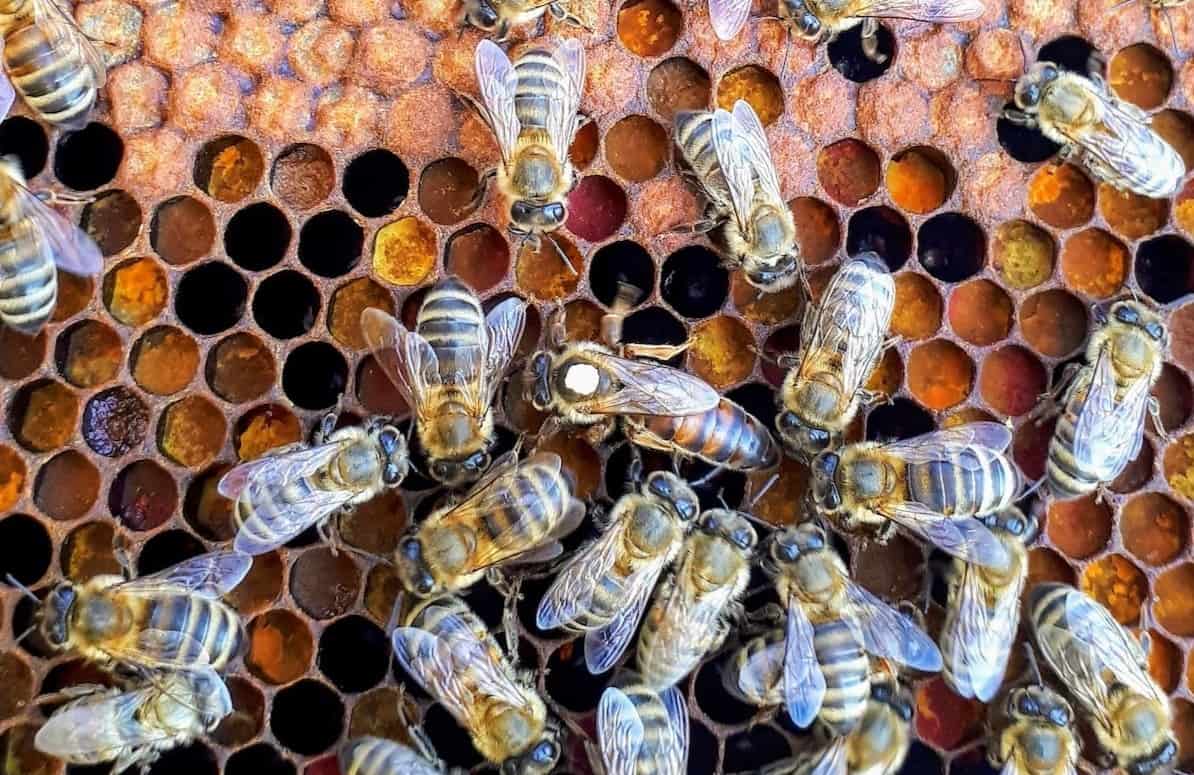
The queen in a hive isn’t always in charge, but without her, the hive is thrown into chaos.
The queen’s pheromones suppress the worker’s impulse to lay eggs, care for the brood, and forage. She is the life force of the colony.
With workers dropping dead from exhaustion after six short weeks, the colony constantly needs workforce replacement. She’s also responsible for the drones that give rise to other colonies.
Her role is so crucial that workers will naturally rear a new queen 12-24 hours after they detect the queen’s absence.
That tells you that a queenless hive, unless made intentionally, is something a beekeeper works to avoid.
If you want to rear and raise queen bees for your own use or even for profit, then you need to understand the various queen-raising methods that are available.
3 Circumstances When Bees Will Naturally Begin to Rear New Queen Honey Bees
The colony will naturally begin queen rearing in the following instances:
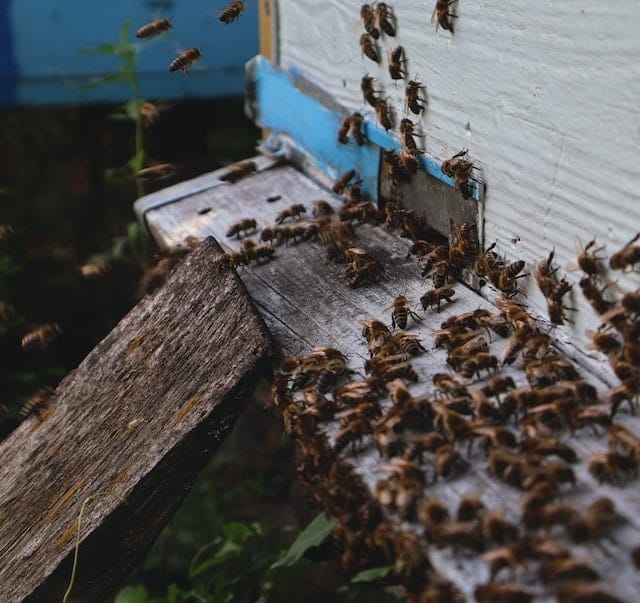
1. Swarming
When nature has been kind to the colony and produced blooms and warm weather, the bees may find it fit to split, and the old queen will relocate with a significant number of the workforce.
Before this happens, the hive can get so heavily populated that some of the worker bees are unable to sense the pheromones of the queen, which directs them to queen-rearing.
The worker bees begin rearing queen honey bees and raising queens to take over the responsibility of populating the hive.
If there was more than one queen cell, the first queen to emerge kills the other virgin queens nipping any competition in the bud.
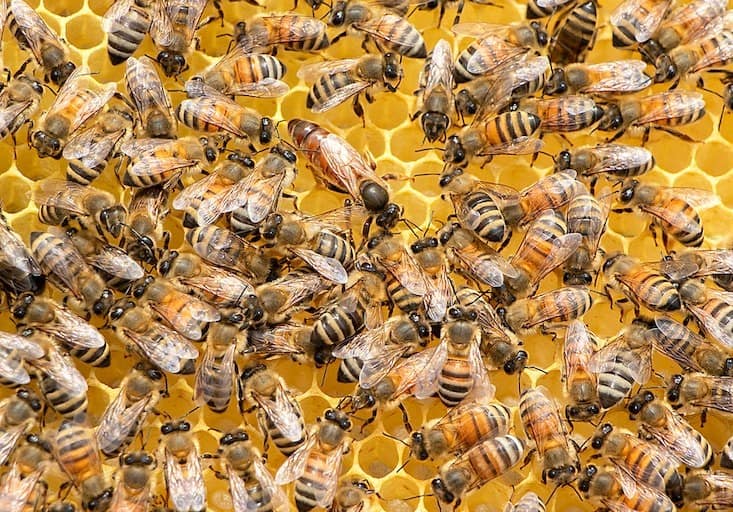
2. Supersedure
Sometimes the queen is unable to perform her primary function of populating the hive. She could be diseased or old. In either case, her pheromone levels take a dip, and the daughters know that it’s time for a coup to safeguard the honey bee colony.
They begin preparations for a replacement. They embark on the task of raising queens who, with the advantage of youth and health, are able to battle the old queen and expel her from the hive. It’s not much of a severance package for the old guard, but it’s all in the name of colony prosperity.
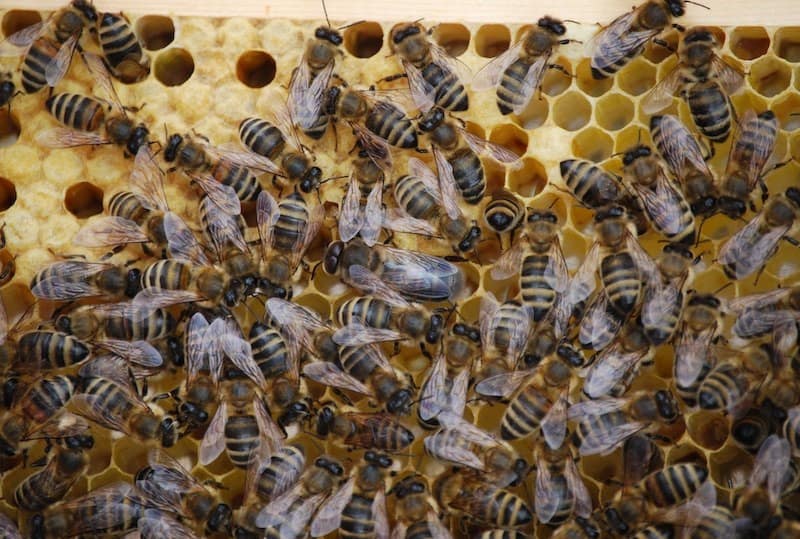
3. Emergency
This is the case of queenless colonies or queenless hives. If the queen is missing altogether, the bees identify a brood that is the right age and raise another queen to replace it.
In order to raise queens, your mission, if you choose to accept it, is to create an environment that triggers the nurse bees to raise a queen by imitating the circumstances above.
6 Methods Beekeepers Use to Rear and Raise Queens
Many beekeepers want to learn how to raise queen bees but aren’t sure how to start.
Luckily, there are six methods available for queen rearing, so you can take your pick.
1. Overcrowding
The aim of this exercise is to mimic the conditions that lead to swarming.
The first step is to reduce the space available to all the bees. Remove any empty drawn comb which denies them storage space as well as living space. This increases the bee density in the hive.
The bees will begin preparations for swarming and will draw out a number of queen cells. It is important that you are vigilant during this period because a queen goes from cell to adult in about 16 days.
If you do not act in time, one queen could emerge and kill the others, so you must take out the cells once they have been drawn. Even worse, the colony could swarm.
You may have to employ the use of a swarm guard
Once you have a capped queen cell, you can cut out these peanut-shaped chambers and place them in a queenless hive.
You can attach the cell to an existing frame with some wax. Once the queen emerges, the nurse bees and workers are likely to accept her, and she soon starts to lay eggs in the new hive.
2. Grafting

This exercise is simple but requires a lot of care.
Grafting is the process of relocating larvae from a worker cell to a queen cell. The nurse bees do the rest of the work. This method of raising queen bees may sound simple, but there’s a challenge.
You will need to make direct contact with the young larvae. The larvae in question are freshly hatched, ideally less than 24 hours old. That’s a tiny delicate creature, if there ever was one. You can barely see them through the milky royal jelly stew. This is what causes small-scale beekeepers to shy away from the practice.
Materials Needed for Grafting Queen Bees
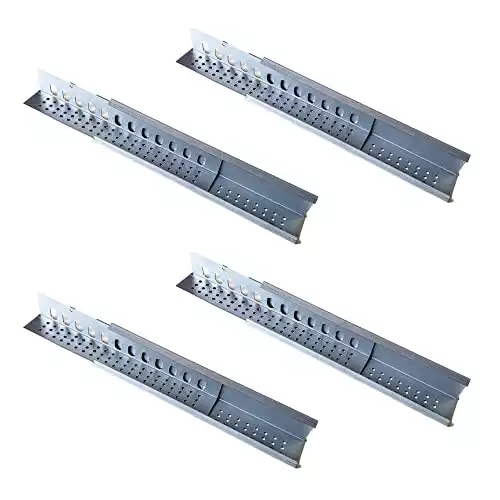
1. Plastic/Wax Queen cells
Plastic cell cups are readily available in the market, but making your own wax cells isn’t too hard. These cells will sit in cell bases which are permanent fixtures on a cell bar.
A frame, known as a cell holding frame, can hold between two and three cell bars and fits snugly in a hive.
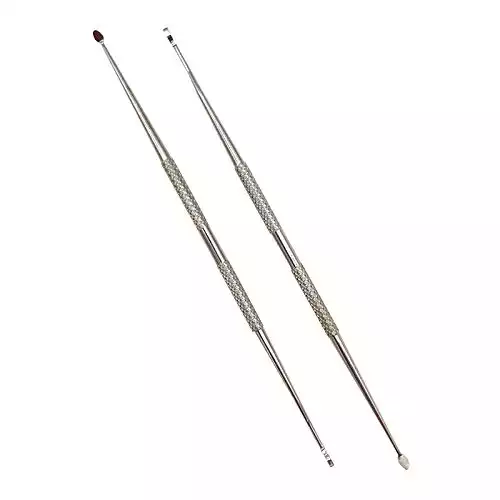
2. Grafting tool
You’ll need to scoop the larvae from the tiny cells and place them in the queen cells without damaging this tiny worm. The tool could be something you fashion out of readily available materials, such as a small paintbrush.
Alternatively, you could purchase an inexpensive commercial product

3. A Queenless Hive
The larvae that you choose will need some TLC to get them to their royalty status. A healthy number of nurse bees will do the delivery. It is, therefore, necessary to set up a queenless hive, comprised mostly of nurse bees, the day before you plan to introduce the cell-holding frame.
As you set up this hive, remember to provide food for the bees. Without foragers, this breeder colony won’t be able to gather food supplies at first, yet they need the food to care for the Royals in their infancy.
A frame or two of honey and pollen should get them through the period before the nurse bees graduate to foragers. In the absence of any type of honey, you will need to supplement their feed with sugar syrup and pollen patties.
In this case, it would be advisable to add nutritional supplements to the sugar syrup since they’ll need the nutrition to secrete wax and royal jelly.
Instructions for Grafting Queen Bees
1. Identify the brood.
You have probably identified a colony that has characteristics you would like to replicate. Next, you will need some newly hatched eggs.
To make it easier to get larvae that are the right age, you will need the queen to lay some eggs in a comb of your choice.
There are two ways to get this done. You can place some brood comb in the center of the brood box. You would need to check on the comb daily so that you can accurately record the age of the larva.
Alternatively, you can confine the queen to a particular comb and release her after 24 hours. That’s the Michael Bush method.
It makes it easier to record the age of the larvae and ensure you’re working with larvae that are about a day old. A dark brood comb is better to begin with because it’s easier to spot the larvae within.
2. Move the larvae to the queen cells on the fourth day.
This is where the tool comes in. You will scoop the larvae from the worker cell in the comb to your plastic or wax queen cell.
3. Place the queen cells in a cell-holding frame and install them in the hive of your queenless colony.
From then on until the eighth day or so, the larvae are cared for by the nurse bees and finally capped. Once the cells are capped, they remain in the hive until they are moved to the mating nucs.
4. Move the Capped queen cells to a mating nuc a day or two before the virgin queen is scheduled to emerge.
Assuming the day the egg was laid was day 0, this move should happen on day 14. If the new queen is healthy, you should see evidence of her abilities within another 14 days, evidenced by the presence of eggs in the hive.
If by day 35 of the exercise (since the egg hatched) you see no eggs, you may need to try again. Sometimes the queen isn’t viable, or she’s eaten during one of her mating flights.
3. Cell Punch

In this method, you cut out a cell holding larvae in a comb in the same way you would use a paper punch.
The tools used keep the cell intact, and that becomes a queen cell. There’s less risk to the larvae, and you need fewer materials than the grafting method.
The cell is then attached to a holding frame, and the procedure is the same as that of grafting.
4. Splits
Splits are all about dividing the colony resources across two or more hives. Experienced beekeepers usually initiate these to reduce the probability of swarming in their own hives.
Depending on the size of the colony you intend to split, you can either use full-sized hives or nucleus hives

When you mimic a swarming operation, you identify the queen and place her in the new hive.
Provide an adequate supply of pollen, nectar, and brood frame to get them started. Ensure that the frame of brood that you place in the new hive does not contain a queen cell.
If your brood extends to two boxes, there’s an even easier way to do the split. Get a bottom board, place the upper brood box on that board, and cover it up. Presto, you have a hive. The tricky bit is to make sure that the queen was not in the upper chamber at the time of the move.
The Queen castle is yet another type of split that maximizes space. Instead of having one 5-frame nuc hive, this hive houses four 2-frame nuc hives fitted with an entrance to each nuc within the same box.
Fit each nuc with one brood frame and one frame of food comprising nectar/honey and pollen. Ensure that the brood is accompanied by a healthy number of nurse bees. The bees will raise a new queen from the brood available to them.
5. Miller Method for Raising Queen Bees
This method of queen-rearing is ideal for the novice beekeeper. No special tools are required.
All you need is 
Take a frame of a drawn comb and cut a zigzag pattern about two inches above the bottom bar with three to four peaks.
Cutting the comb before inserting it helps to direct the queen to lay in a pattern that is easier to work with.
Since she lays eggs in the middle of the comb first, making her way outward, trying to cut the comb around the desired larvae would be quite a challenge.
Once she has laid the eggs and they hatch, you then remove the comb and cut around the desired larvae.
Place the frame in a cell starter, and the bees will draw queen cells along the edges. It’s that simple.
6. Hopkins Method for Raising Queen Bees
This queen-rearing process begins in the same way as the cell punch, by allowing or directing the queen to lay eggs in a new comb.
Once the eggs hatch, you take out the comb and create a sort of checkerboard design with the cells containing the larvae.
Queen cells take up more space than regular worker bee cells, so it’s up to you to make that room. You will need to destroy the larvae in every other row of cells.
When you’re done, you’ll have an alternating pattern of live larvae and an empty cell in a column.
Within the same row, destroy every other larva in a cell so that each live larva has no immediate neighbors in the adjacent cells.
Once you have finished, place this frame horizontally above a queenless nuc so the cells face down. This allows the bees to build that peanut-shaped cell.
Once that is done, the instructions remain the same as the other methods.
Final Thoughts
Each method elaborated above has its own merits and demerits. What’s important is to try. Too many of us give up at the first sign of failure, yet the potential benefit is substantial.
Learning how to rear your own queens saves you money and time (particularly when a hive is queenless) and helps to build colonies that are suitable for your environment. You owe it to yourself and your bees to give it the old college try.
In the long run, you stand to gain more than you can lose.
this was helpful but since I am a beginner to bee keeping I need a book complete for this topic which I can downloade it