When we think of bees, we often think of honey. But that’s not all we get from them. Beeswax is more valuable when you are into DIY and craft projects. And so, many people are into filtering beeswax themselves. But how do you refine beeswax at home?
Energy comes at the cost of honey. It takes a lot of energy for bees to build honeycombs. That’s why many beekeepers prefer to use an extractor to harvest honey. That way, the comb is left largely intact.
When the comb is returned to the hive, the bees repair the comb rather than draw out some new comb. That saves them time and lots of energy.
It’s easy to view beeswax as a waste product, especially if you’ve used the crush method to get your honey, but you can get something useful out of it.
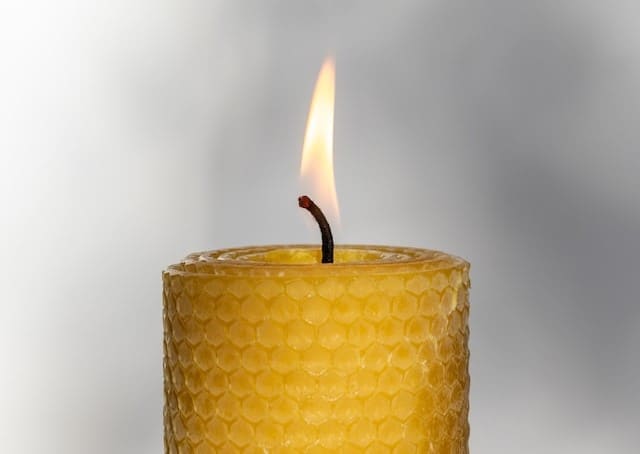
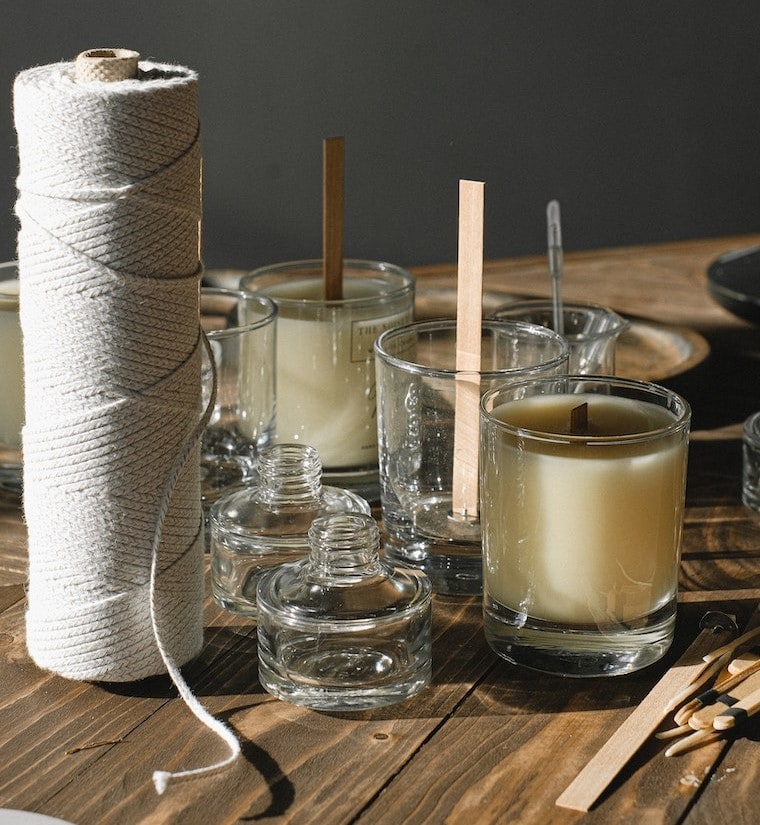
Wax is used for several home projects. It is the main ingredient in making candles, soap, lip balm, and many other things. You can also use it to preserve your hive instead of painting it. You can make wax strips for your frames or top bars.
Filtering Beeswax
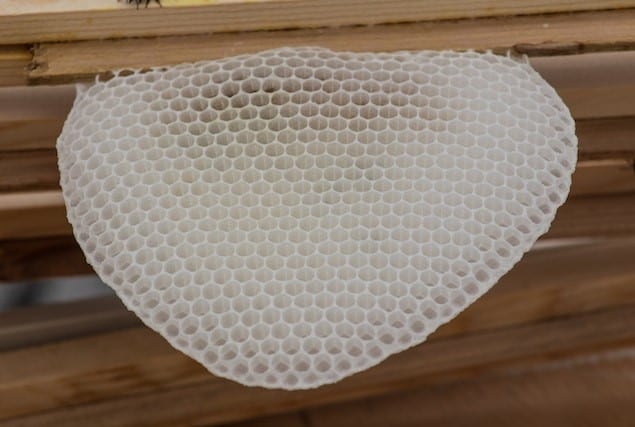
Honeycomb comes in different shades. The color depends on how old it is. The new comb is almost white. With time and use, the honeycomb darkens. If the queen lays eggs in the cells, the comb darkens even more.
The honeycomb that previously housed the brood is dark and contains bits of old cocoon.
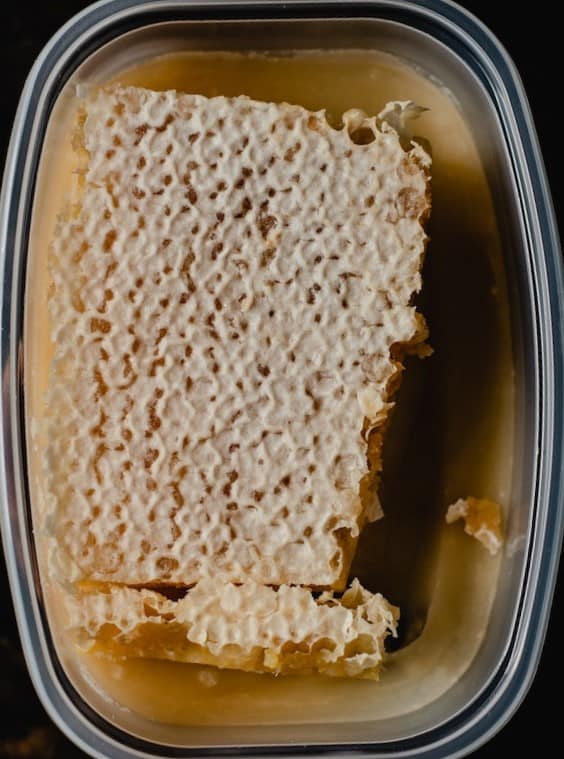
When honey is ready for harvest, honeybees cover the honey-filled cells with a thin layer of beeswax. When harvesting honey, the beekeeper removes this beeswax capping to release the honey. These cappings can be kept for rendering.
Filtering beeswax increases its value and protects it from pests such as wax moths.
There are several steps to filtering beeswax: cleaning, melting, filtering, and setting.
What can I use to filter beeswax?
To filter beeswax, you would need the following:
- Old Pot (cooking pot)
- Molds
- Cooking Stove (for heating)
- Old clothes or cheesecloth
The process of filtering beeswax the easy way is outlined below. It’s simple but messy. But we’ll walk you through it.
How To Filter Beeswax
Cleaning
The first step to filter and render beeswax is cleaning.
Before you melt it, wash it.
If you crushed your comb to harvest honey, it’s advisable to wash the beeswax and get rid of as much residual honey as possible.
Also, there might still be something on your raw beeswax, like some specks of propolis, pollen, and other impurities.
Melting
Tools: Old pot, heat source
Removing the rest of the impurities in raw beeswax while it is still in comb form is impossible. But this is an important step to remove any dirt on your beeswax. To separate them from the honeycomb, you need to melt them and then strain them.
Melting honeycomb is very messy, so whatever utensils you use will be forever ruined. So choose wisely because once you use it for rendering beeswax, that will be its permanent job.
The size depends on how much beeswax you will be rendering. Keep in mind that wax, once it’s melted down, occupies a much smaller volume than the original honeycomb. For a small operation with a few hives, a cooking pot will be just fine.
To do this, put your honey in a cheesecloth and secure it so that the wax doesn’t escape. Then, immerse the bag in a container of warm water and keep it in for a few hours.
The honey will dissolve in the water. Then, remove the makeshift bag, and your comb is ready for the next step.
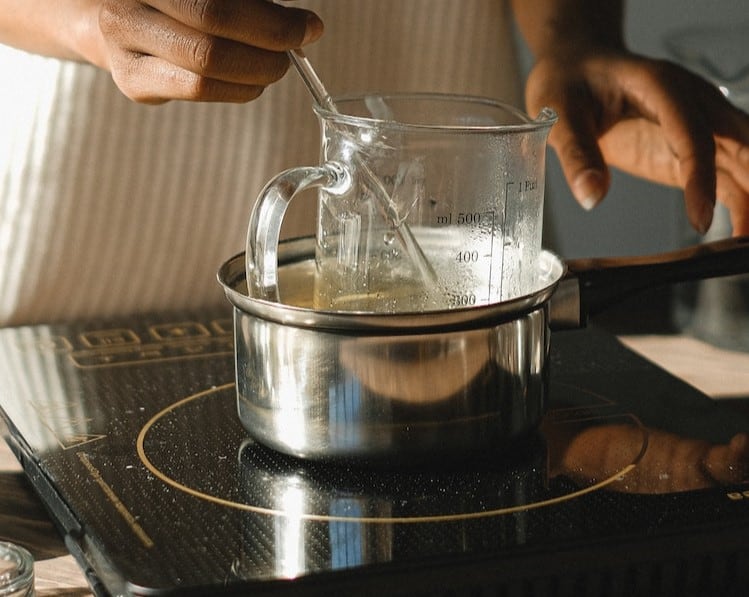
How to melt the wax
Some people opt to use the oven, while others prefer a stove. A stove allows you to keep an eye on the melting process.
For this step, start with some water. The amount of water is not of much significance. Just make sure you don’t put too much because you don’t want melted wax splashing over the side when it’s time to filter. Keep it under the halfway mark.
Add the comb to the water and place it on the fire. As the mixture warms, slowly stir the mixture until all the wax is melted. Monitor the temperature to ensure you do not have boiling water. Reaching the boiling point would eradicate the natural anti-bacterial properties of beeswax.
Once the beeswax is melted, it’s time to pour.
Filtering
Tools: Cheesecloth, colander
When rendering wax from wax cappings, the amount of debris will be very little. That’s because the wax cappings are brand new wax straight out of the showroom. The only debris would be particles picked during the harvest, such as dead bee parts. With some cheesecloth, you can strain the mixture quite easily.
When rendering a dark honeycomb, you’ll have a lot more debris. Although bees are good housekeepers, dark brood comb contains remnants of old cocoons, and they tend to build up over time. The bees love it, but it does nothing for the quality of your wax.
You’ll want to layer your cheesecloth on the inner part of a colander. Having more than one layer of cloth helps to trap the fine particles in the mixture, which will reduce the number of times you need to refine the wax.
When dealing with wax cappings, there’s an easier method. Instead of putting the wax directly into the water, leave it tied up in the cheesecloth and put the cheesecloth in the water and heat.
When the wax melts, it will seep through the holes in the cloth, and the bits of dead bee and foreign matter will remain in the cheesecloth.
Setting
Tools: Bucket or any container
When filtering your beeswax, you’ll need to place the mixture of water and wax in a container to cool. The mixture will be dark, but the wax will lighten as it cools.
Leave the container undisturbed for around 24 hours, depending on how much wax you are rendering. This will ensure that you get a nice block of wax. Trying to quicken the process by adding cold water will fragment the wax, which isn’t what you want.
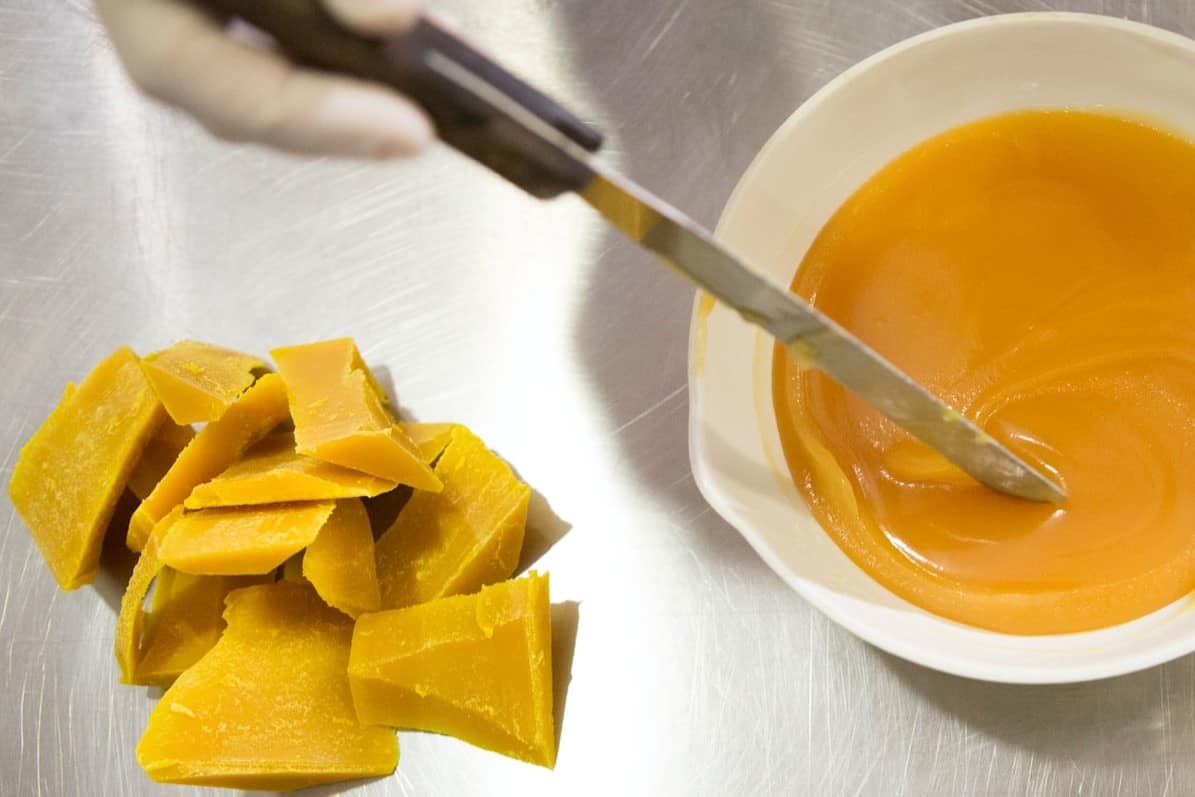
Once the wax cools down, it will float on the water. You’ll just tip the container and let out both the wax and the water. The lower side of the wax block will have a bit of debris, which you can scrape off with a hive tool or a knife.
The process is complete.
Sometimes, because of the bit of honey left on the wax, you can have mold growing on the lower side of the block. Allow your wax to dry off completely on a drying rack before storing it.
If the wax block isn’t as clean as you’d like, you can repeat the process. Melt it down, sieve it again, and allow it to cool.
Try it out
There you have it. Filtering your raw beeswax is not a complicated process. It may create too much of a mess, but a drop cloth on the floor and on your working area would help,
Now, you are ready to start making your own candles and soap. Or use this clean wax in any DIY projects you have ideas for.
With this project, nothing goes to waste. Even the wax-crusted fabric can be cut up and used to light a fire next time you go camping. The debris, which consists of dead bees and bits of an old cocoon, can be added to your compost.
Have you tried rendering and filtering your beeswax using any other method? Let us know in the comment section below. Happy rendering.